While I don’t exactly hold myself out as expert on older and antique furniture, I do have a pretty good library and I have spent a lot of time studying the subject. And I love to share what I have learned with other folks who are interested. Toward that end I regularly field inquiries from readers about the furniture they have acquired/inherited/found etc., mostly wanting to know how old something is and what it is worth. I have written about both of those subjects in this space previously so I won’t rehash them.
What I want to talk about is one aspect of how you go about asking the questions you want answered in a manner that is likely to get them answered by someone who may actually know. A good way NOT to get an answer is to say something like: “I have an old antique rocker that belonged to my grandmother and it was old when she got it. She was 98 when she died in 1963 so we know the chair is probably close to 200 years old. It has an old dark finish on it. Who made it and what is it worth?” That won’t get you very far with any furniture professional. By far the best way to get an answer is to show a picture.
I get hundreds of pictures a year from readers wanting information about their family heirlooms, and frankly most of the photos are awful. Either they don’t know how to take a photograph or they don’t look carefully at them before they send them.
Here are lots of good reasons to take good pictures of your furniture other than for identification purposes. The most common is for insurance work. A good photo can go a long toward justifying an adequate replacement cost with a claims adjuster. An appraiser also needs a good picture to complete an evaluation even though they probably will have examined the piece in person. And then there is just plain old pride of ownership. I have taken pictures of some of my best finds not for insurance or evaluation purposes but just for bragging rights and just because I like the subject.
While a certain minimum level of adequate equipment is required to photograph furniture, that’s not all there is to it. Just like having a good pair of Nike running shoes doesn’t guarantee a good time in the local 3K run, a good camera doesn’t guarantee good pictures. Good technique does that.
To see what good furniture photos look like take a stroll through one of the high quality antiques magazines like The Magazine Antiques and take a good look though this publication. Of course most of those photos are taken by pros with thousands of dollars worth of equipment and they get paid for their time, but at least you can see what a good photo looks like and you can come surprisingly close with a little attention to particulars.
The four main components of informative furniture photography are lighting, focus, frame and detail.
LIGHTING – The most common problem in photographs I get from readers is the image is too dark. Just because a camera has a flash doesn’t mean it will illuminate the subject in all conditions. You have to help it out. Natural light, supplemented by the flash is always a good bet, but even hardware store drop lights with 60 or 100 watt bulbs, clamped onto a door frame, will illuminate most furniture shots.
When using the flash don’t shoot the flat front of a cabinet from straight ahead. You’ll get the flash bounced back into your camera resulting in a big glare spot on the object. Use a slight angle so the reflection bounces away from the camera lens. The same holds for drop lights or pole lights. Shoot from an angle that takes the glare of the lights out of the picture.
Pay special attention to other sources of light. Your eyes adjust to ambient light a lot better than most cameras so you have to look for problems through the lens. Watch out for windows filled with sunlight or other light sources that are behind your subject. While you can still see the details on the chair back, the automatic camera lens reads only the brightest light source—the window in the background—and adjusts for that. The result is a black chair with no apparent detail against a white window.
FOCUS – With today’s autofocus cameras you would assume that this would not be an issue. But just as the internal light meter in the camera can be fooled by backlight, the autofocus feature is not always seeing what you are. It is seeking the point that meets a number of criteria like the right distance from the lens, adequate light and sufficient surface area on which to bounce an infrared beam. Those are probably not your criteria for a focal point. Practice with your camera to learn what your equipment thinks is a good focus and adjust your shooting to what works best within those parameters.
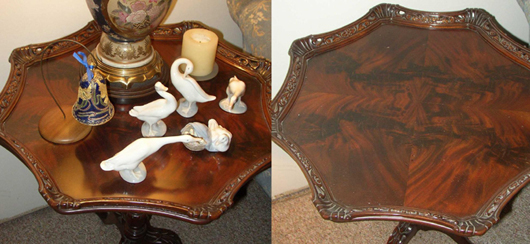
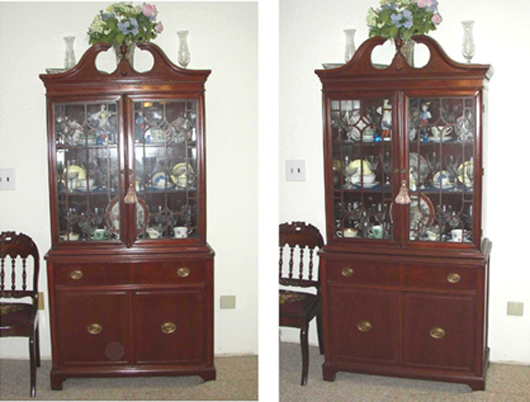
FRAME – This is what you actually see within the photograph and setting up the frame is one of the most important things you do. Most of us have a tendency to look through the lens and see exactly what we want to see—the subject. But there are often many other things in the frame that we don’t notice until we look at the photo. Why didn’t you see that pile of dirty socks next to the chest of drawers when you snapped the picture? Because you didn’t look for it. It was there all along but you were too busy looking at the chest. The same thing occurs if you don’t notice what is on top of the dresser or the buffet. You would be surprised at how many personal details are discernible in a loosely framed photo of your bedroom. Believe me, the claims adjuster or appraiser doesn’t want to see all your family photos arranged on the vanity and doesn’t care a whit for the old bowl that obscures half the tabletop.
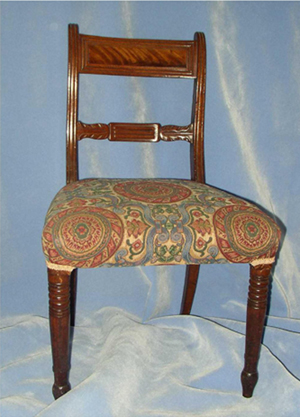
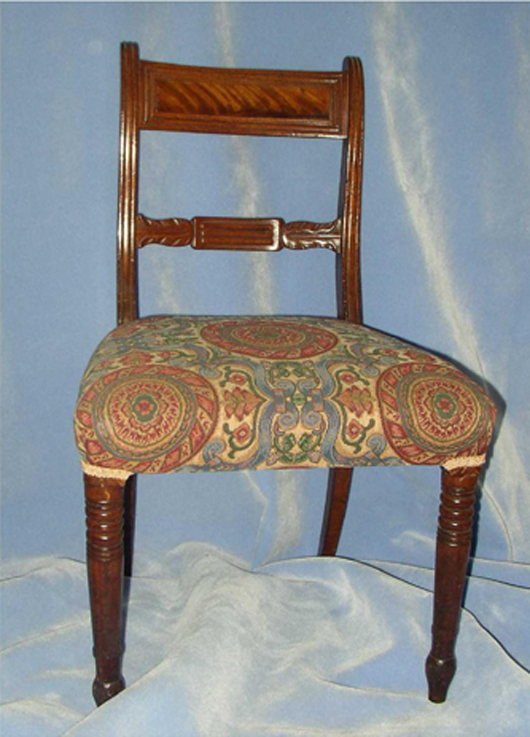
If you are taking a picture of a chair, then take a picture of the chair, not half the room around it. Fill the frame with your subject. And get on the same level as your subject. Photographing furniture is a lot like taking pictures of kids—only easier. The main thing is you have to be on their level. A 6-footer standing up taking a shot of a kid from above doesn’t produce a very good photo of the kid. The same with the chair. Get down to the chair or get the chair up to you.
Group shots of furniture are also generally about as successful as group shots of kids or cats. They don’t convey what you are really trying to portray, and no claims adjuster can tell much about the entire dining room set from a group shot of the whole room. Take a group picture just for the record but record each component piece of the set individually, giving each its own frame.
DETAIL – The way to identify the age and origin of a chair or chest is not to take a dozen pictures of the piece, all showing the same thing from a different angle. Show the details that will identify a piece. First show an overall shot of the piece to get a frame of reference. Then show the informative details. Take a photo of both the front and rear joinery of a drawer for example. Then show the inside of the drawer, the bottom of the drawer the back of the drawer and a side view of the drawer. All of these may contain valuable clues to your piece. Be sure to show the backs of cabinets, the tops, the insides with the drawers removed and take close ups of feet and legs. Show chairs from underneath and above. Take pictures of the edges of tops and drawers. They may reveal the thickness of the veneer or point out the absence of veneer at all.
Take close looks at hardware and inlay, locks and escutcheons, hinges and handles, nails and screws. Look for tool marks and notations, numbers or marks. They may not mean anything but they also may be crucial to correct identification.
But most of all take lots of pictures. The only way to get a good picture is to take lots of pictures. If you think three photos will work, take six—or a dozen. Most of the pictures we take are not good photos, but if we take enough of them we sometimes get lucky.
Visit Fred’s website at www.furnituredetective.com. His book How To Be a Furniture Detective is available for $18.95 plus $3 shipping. Send check or money order for $21.95 to Fred Taylor, P.O. Box 215, Crystal River, FL 34423.
Fred and Gail Taylor’s DVD, Identification of Older & Antique Furniture ($17 + $3 S&H) is also available at the same address. For more information call 800-387-6377, fax 352-563-2916, or info@furnituredetective.com. All items are also available directly from his website.
ADDITIONAL IMAGES OF NOTE


